
How to enroll students in RootWright LMS
To enroll a student, go to RootWright LMS → Students, click Add students, and choose either an existing WordPress user or a new account. Pick the courses, then click the button to add the student.
Add a student
- Go to RootWright LMS → Students and click Add students.
- Under Add as, keep Student selected.
- Choose a tab: Existing WordPress user, New account or Import CSV.
- Fill in the fields for that tab (see below).
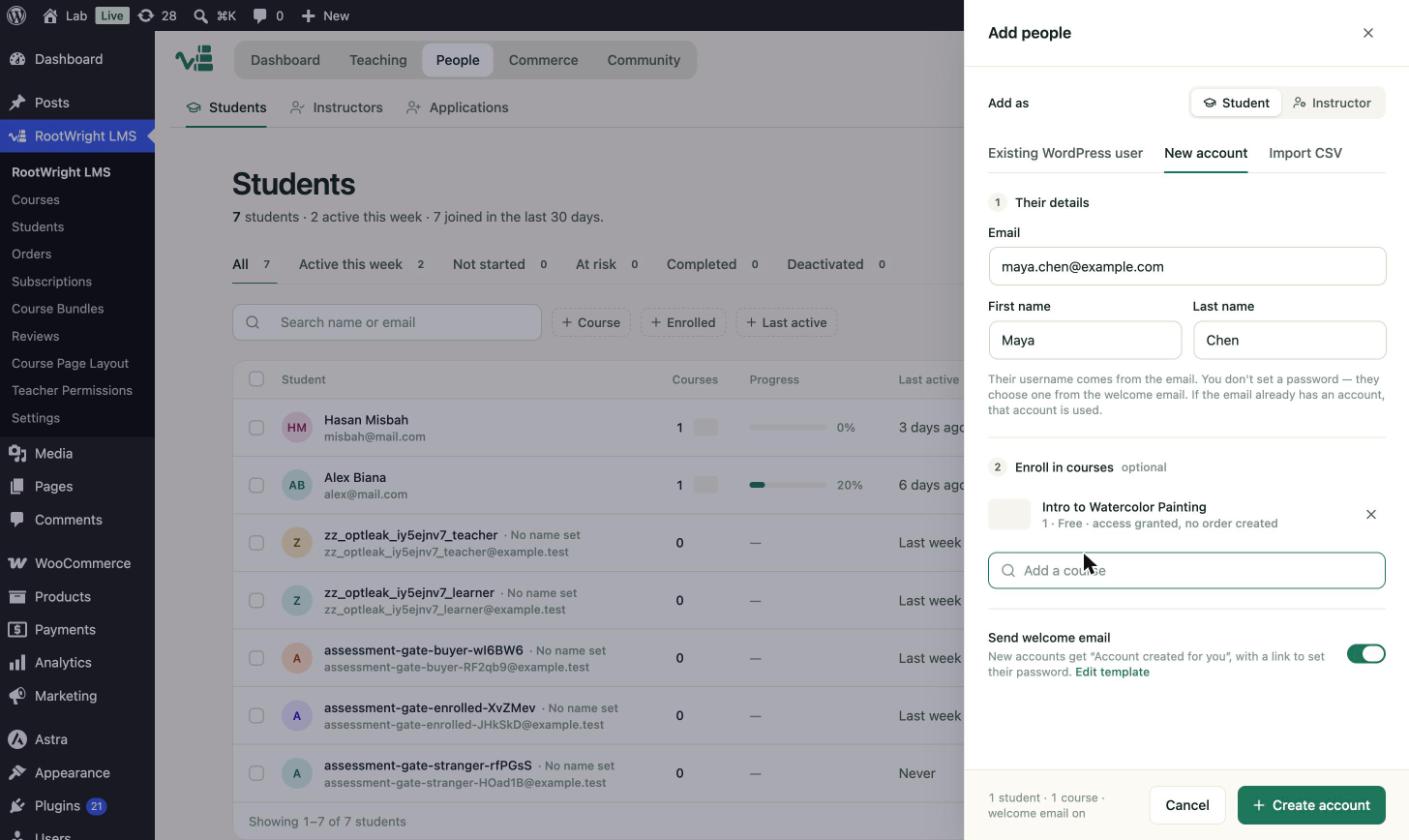
- Under Enroll in courses, search for a course and select it. This step is optional.
- Leave Send welcome email on, or switch it off.
- Click Create account (for a new account) or Add students.
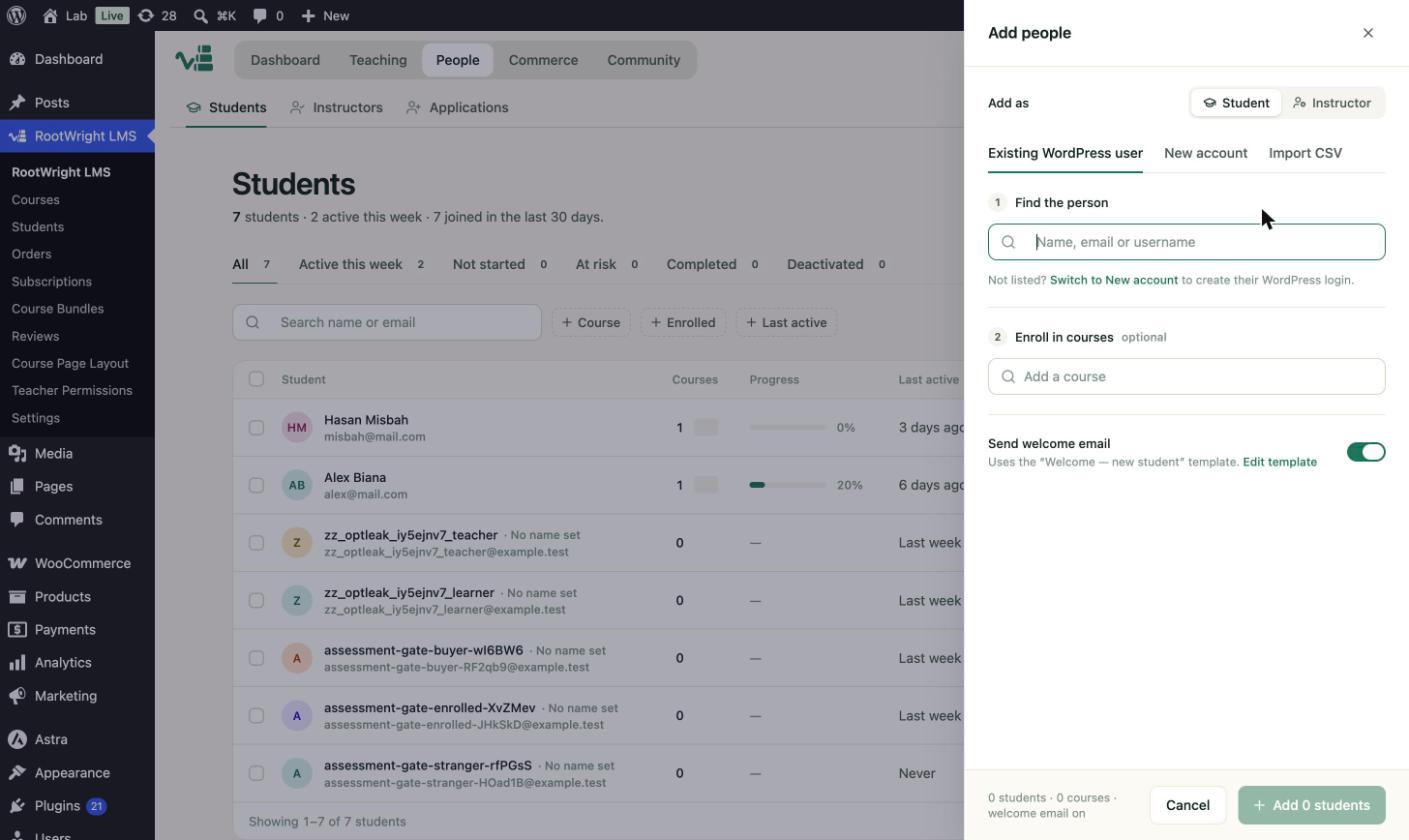
The Add people drawer. The Student and Instructor switch sets the role.
The New account tab
- Email, First name and Last name.
- The username comes from the email address. The student sets a password from the welcome email, so you do not enter one.
- If the email already has an account, that account is used.
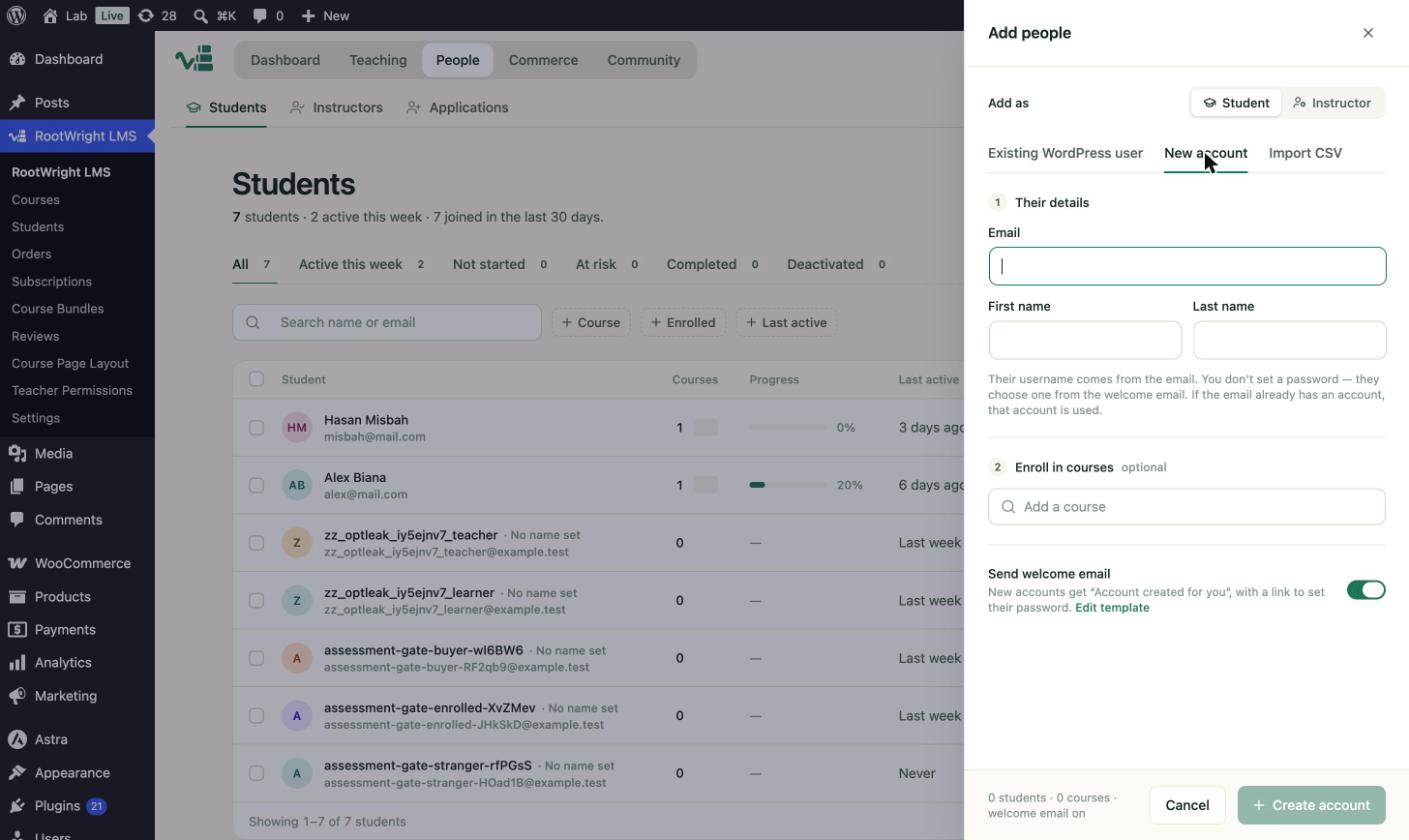
A new account. Demo data shown here uses example.com addresses.
Enroll in a course
Search for a course in Enroll in courses. Each selected course shows its price and access. Free courses show "Free · access granted, no order created".
Import several students
Use Import CSV to add many students at once. The button is on the Students screen too.
After enrolling
The Students list shows the new student with the course count, progress, last active date, join date, amount spent and status. Click a student to open their profile. See Student profile and progress.
Note
Turning off Send welcome email means the student gets no message. Tell them how to sign in yourself.