
Checkout, tax and access rules in RootWright LMS
These settings control how a sale behaves after the payment: which store sells the course, whether tax is charged, and what happens to access when a subscription ends or a payment is refunded.
Pro
Checkout, tax and access rules are part of RootWright LMS Pro.
Checkout & stores
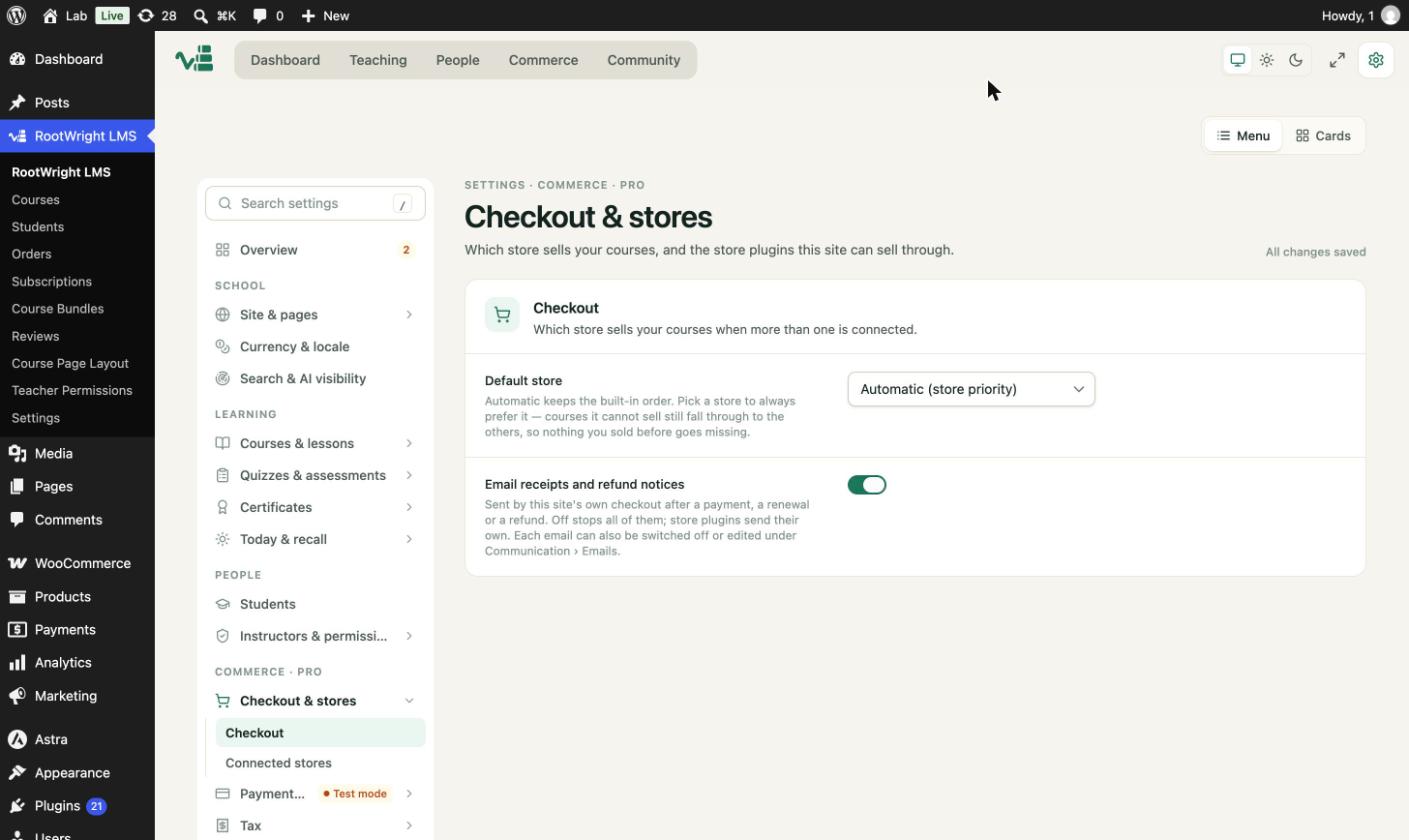
- Default store decides which store sells courses when more than one is connected. Automatic (store priority) keeps the built-in order, and courses a store cannot sell fall through to the next store.
- Email receipts and refund notices sends the site's own receipt after a payment, renewal or refund. Turn it off if a store plugin sends its own.
Tax
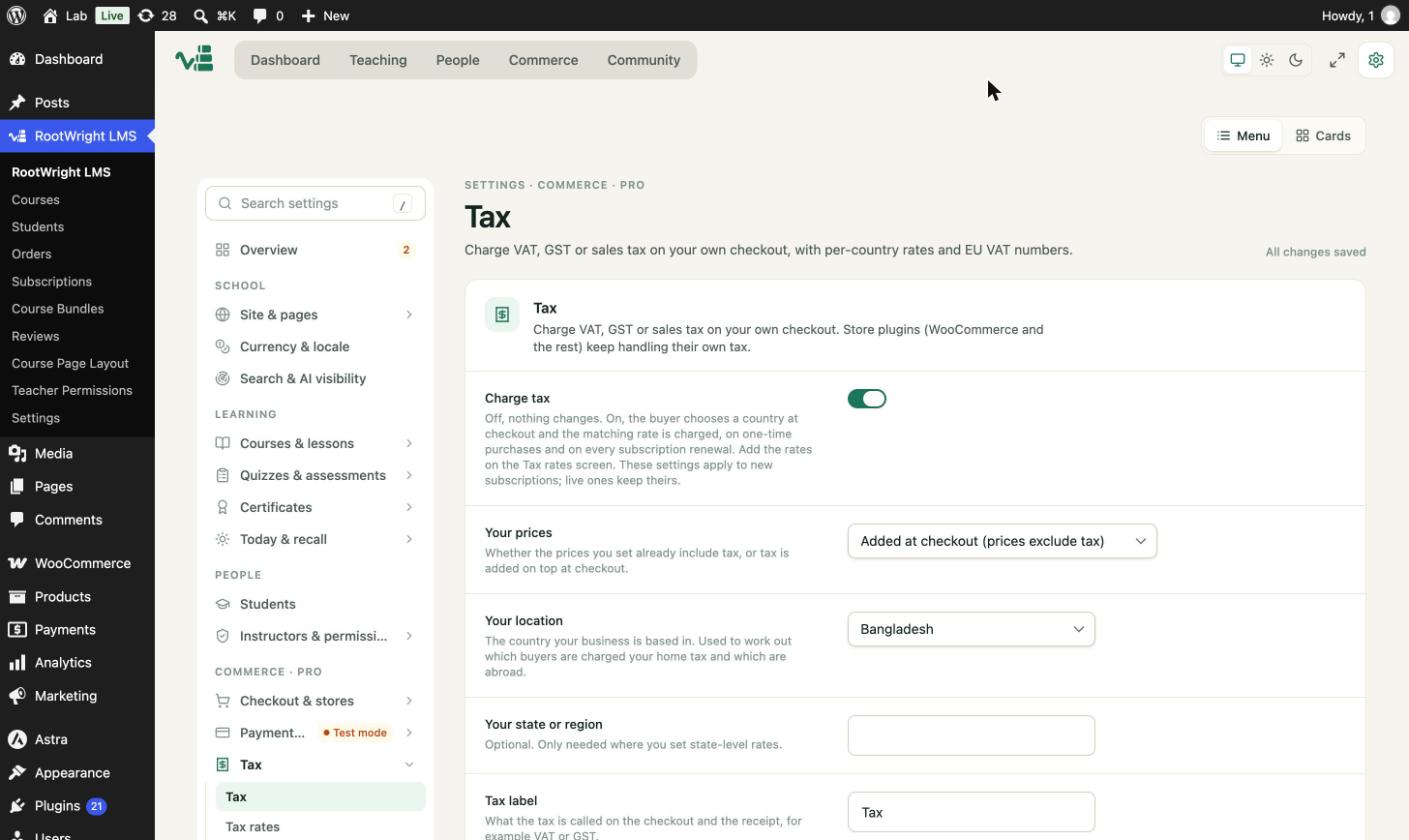
- Charge tax adds the matching rate at checkout. The buyer chooses a country, and the rate for it is charged on one-time purchases and on every subscription renewal.
- Your prices decides whether prices include tax already, or tax is added on top at checkout.
- Your location is the country your business is based in. It decides which buyers are charged your home tax and which are charged abroad.
- Your state or region is optional. It is only needed where you set state-level rates.
- Tax label is shown on the checkout and receipt, for example "VAT" or "GST".
- EU VAT numbers lets EU business buyers enter a VAT number. A valid number from another EU country is reverse-charged (no tax), checked against the EU's VIES service.
- Charge tax on enrollment fees: when off, an enrollment fee is charged as entered, with no tax. In many VAT and GST systems the fee is taxable, so check your local rules.
Tax applies only to the site's own checkout. Store plugins such as WooCommerce handle their own tax. The settings apply to new subscriptions; live ones keep theirs.
Tax rates
Under Tax → Tax rates, click Add rate for each country you charge tax in, then Save rates. Leave the state blank for a country-wide rate. A rate for an exact state wins over the country-wide one. A changed or deleted rate reaches live subscriptions from their next renewal.
Invoices
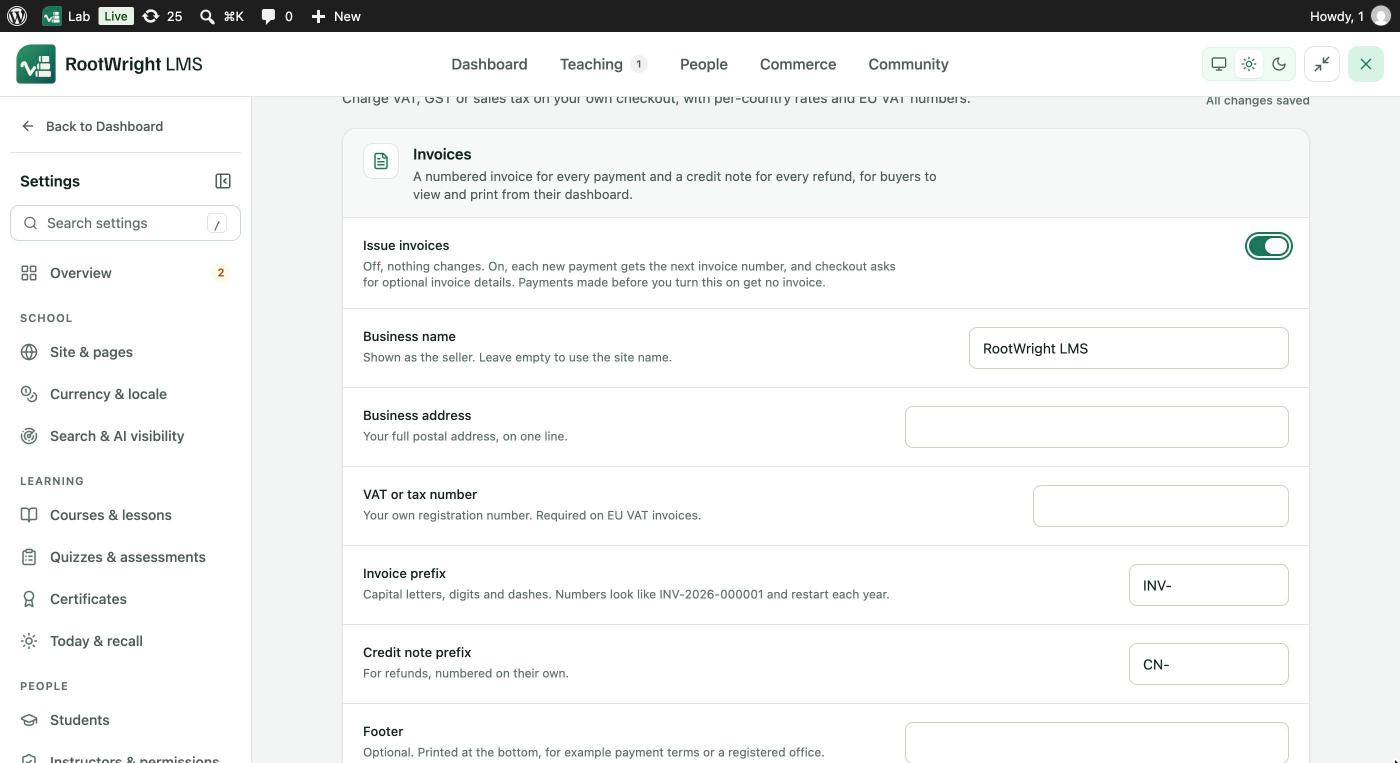
Settings → Commerce → Tax → Invoices.
Switch on Issue invoices to give every new payment a numbered invoice and every refund a credit note. Buyers view and print them from Invoices on their dashboard, and checkout asks for optional invoice details. Payments made before you turn it on get no invoice. Admins see them under Commerce → Invoices. See Invoices and transactions.
| Field | What it does |
|---|---|
| Business name | Shown as the seller. Leave it empty to use the site name. |
| Business address | Your full postal address, on one line. |
| VAT or tax number | Your own registration number. Required on EU VAT invoices. |
| Invoice prefix | Capital letters, digits and dashes. Numbers look like INV-2026-000001 and restart each year. |
| Credit note prefix | For refunds, numbered on their own. |
| Footer | Optional text at the bottom, for example payment terms or a registered office. |
Access rules
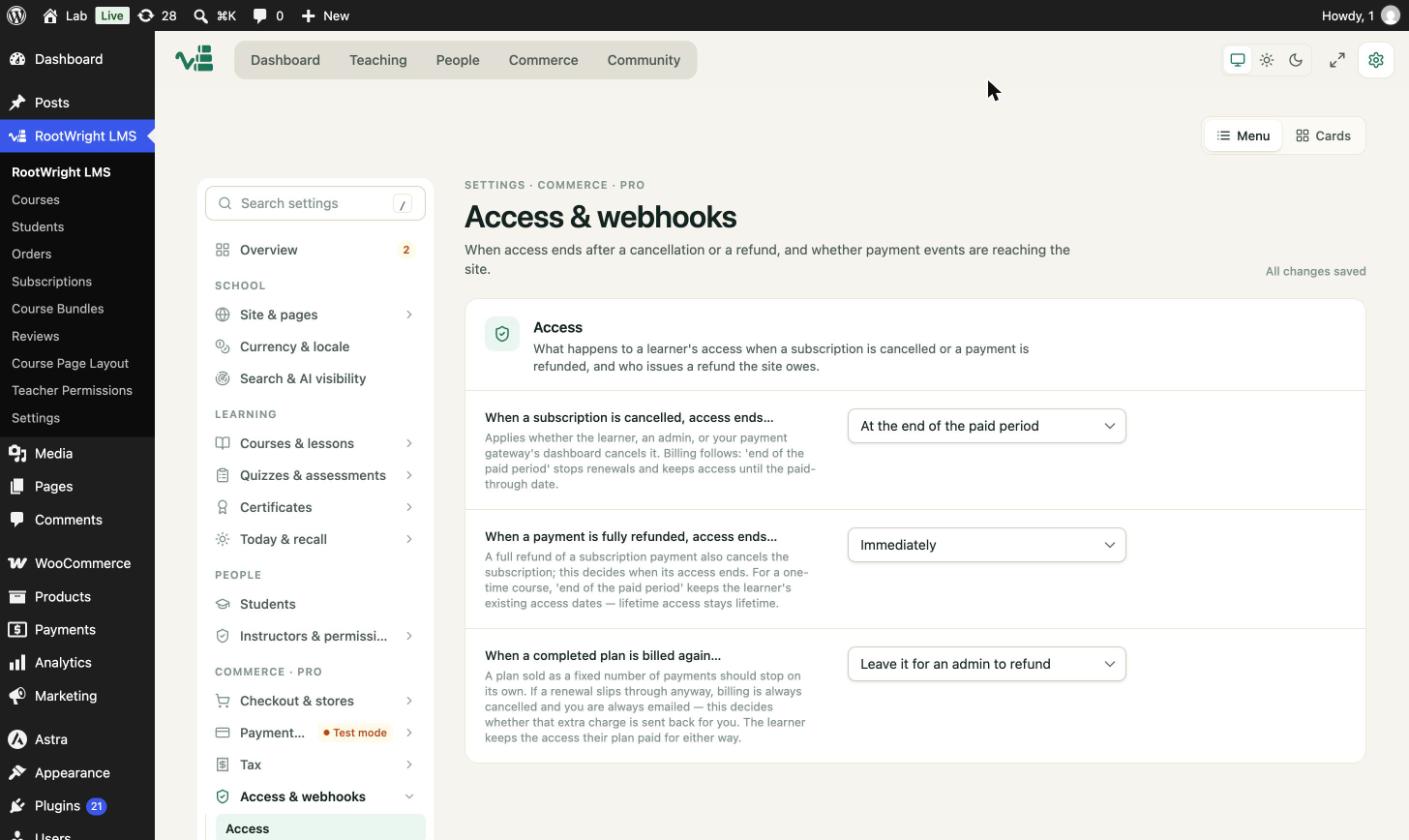
Under Access & webhooks, decide three things:
| Setting | Options | Default |
|---|---|---|
| When a subscription is cancelled, access ends | At the end of the paid period, or Immediately | At the end of the paid period |
| When a payment is fully refunded, access ends | Immediately, or At the end of the paid period | Immediately |
| When a completed plan is billed again | Choose from the dropdown | Leave it for an admin to refund |
For a one-time course, the paid-period option keeps existing access dates, and lifetime access stays lifetime.
Webhooks
Access & webhooks → Webhooks shows the address each connected gateway sends payment events to, and how it has been doing.
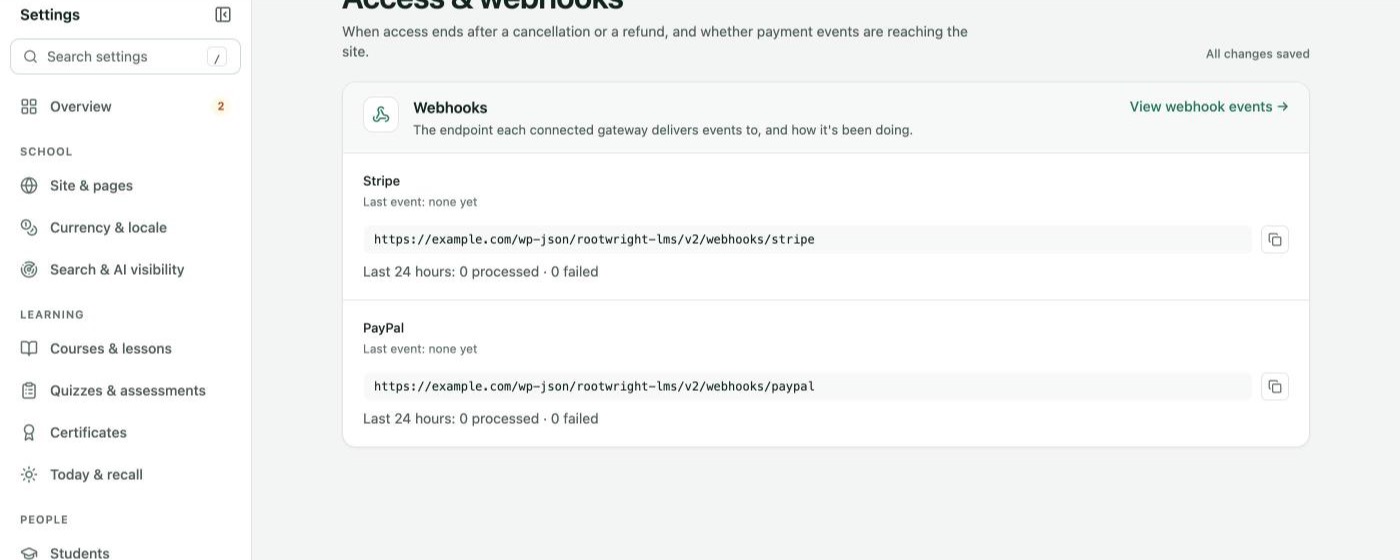
Settings → Commerce → Access & webhooks → Webhooks.
For each gateway, such as Stripe and PayPal, you see the time of the last event, the webhook address with a copy button, and how many events were processed or failed in the last 24 hours. Paste the address into the gateway's own dashboard. See Payment gateways. View webhook events opens the list of events received.