
How to store course files in Bunny.net Storage
Bunny.net Storage keeps the files you attach to lessons, such as PDFs, worksheets and slide decks. The files stay in your Bunny storage zone. RootWright LMS does not copy them onto your WordPress server.
This is separate from Bunny.net Stream, which hosts lesson videos. See Bunny.net Stream for videos.
Pro
Bunny.net Storage is part of RootWright LMS Pro.
Before you start
- A Bunny.net storage zone, created in the Bunny dashboard at
panel.bunny.net/storage. - The zone's Access Key, the storage zone password shown under FTP & API Access. This is not your account API key.
- The region the storage zone was created in.
- Optional: a pull zone for the storage zone, if you want files served from Bunny's CDN.
Connection fields
| Field | Required | What it does |
|---|---|---|
| Storage Zone | Yes | The name of your storage zone. |
| Access Key | Yes | The zone password. The field is a password field. |
| Region | No | The region the zone was created in. Choose the same region, or requests are rejected as if the key were wrong. The default is Falkenstein, DE. |
| CDN Hostname | No | A pull zone hostname, such as my-zone.b-cdn.net. Without one, files are still served through your site with an access check, but not from the CDN. |
| Active | No | Switches this driver on. |
Do not enter the storage endpoint that Bunny shows, such as storage.bunnycdn.com/.... That address only answers to an API key.
Connect Bunny.net Storage
- In WordPress, go to Settings → Integrations → Video & storage, then click File storage in the sidebar.
- On the Bunny.net Storage card, click the edit icon.
- In Bunny.net Storage settings, enter the Storage Zone and Access Key.
- Choose the Region the zone was created in.
- Optional: enter the CDN Hostname of the pull zone.
- Click Save, then switch on the Bunny.net Storage card.
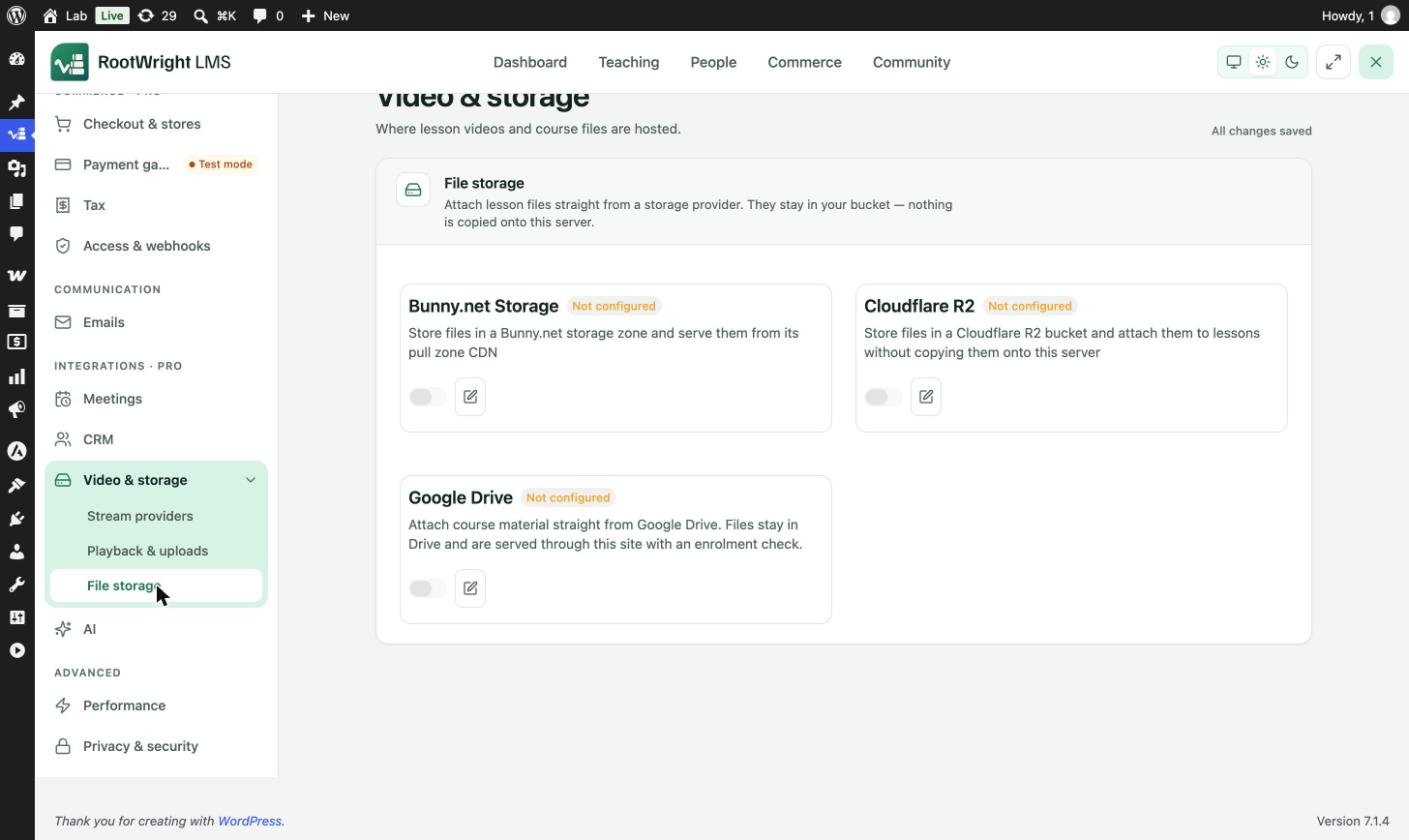
Settings → Integrations → Video & storage → File storage. Each card shows Not configured until its settings are saved.
Attach a file to a lesson
Open a lesson in the lesson builder, add an Attach File block, and choose the file. The file stays in the storage zone. Learners who are enrolled can download it from the lesson.
Screenshot to add
What: The Attach File block in the lesson builder with a file from Bunny.net Storage attached.
How to get there: Open a lesson in the lesson builder → add an Attach File block → upload a small PDF to Bunny.net Storage.
Save as: docs/public/images/integrations/bunny-storage-02-attach-file.jpg (1440×900 window, JPG)
Then: replace this box with: 
Messages you may see
- "Bunny Storage is not configured." The card is not switched on, or a required field is empty. Fill in the Storage Zone and Access Key, save, and switch the card on.
Related
- Video & storage for the other storage providers and the upload settings.
- Bunny.net Stream for lesson videos.